Creating Glassmorphism Effects with Tailwind CSS

We've designed a credit card UI, and we want to turn it from hard boring white plastic to one of these fancy transparent or rather translucent cards.
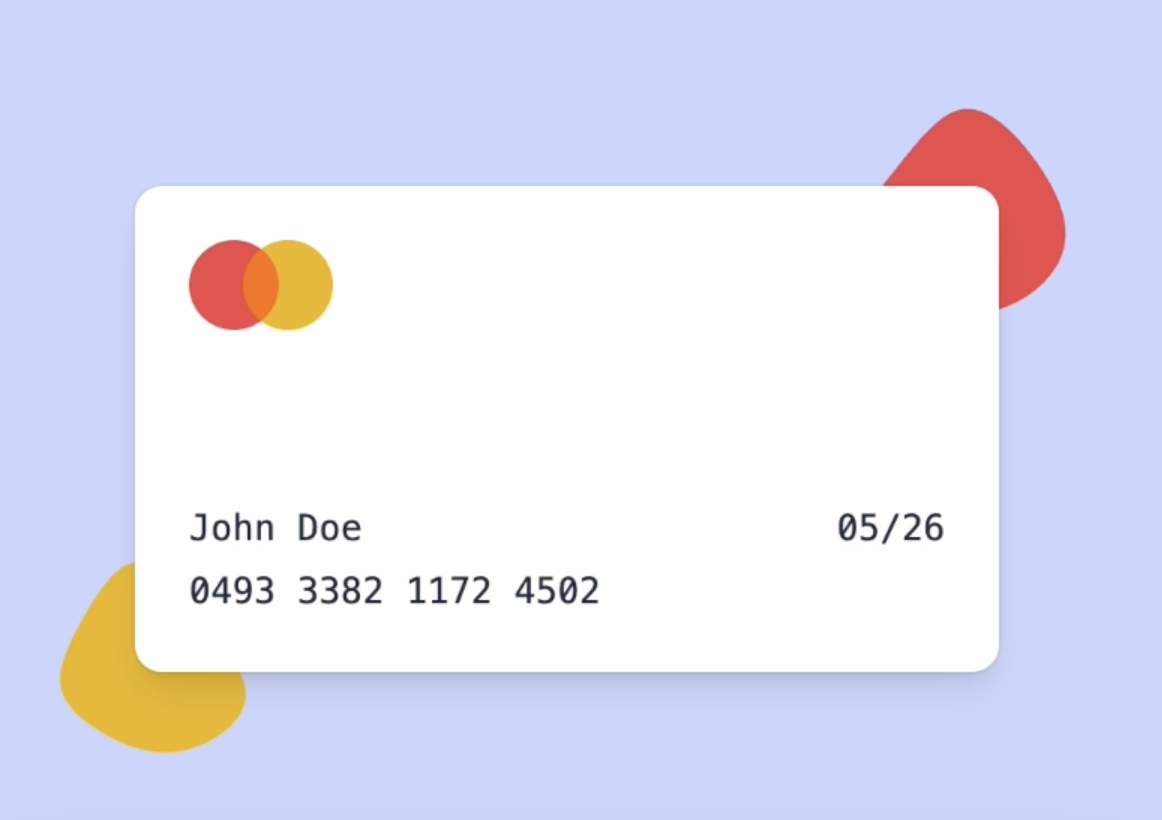
<div class="isolate aspect-video w-96 rounded-xl bg-white shadow-lg ring-1 ring-black/5">
Instead of a background color of white, let's give it a background of transparent.
<div class="isolate aspect-video w-96 rounded-xl bg-transparent shadow-lg ring-1 ring-black/5">
That sort of sells the effect but it's almost too transparent. In the real world, the card would have some sort of opacity.
<div class="isolate aspect-video w-96 rounded-xl bg-white/20 shadow-lg ring-1 ring-black/5">
The frosted glass effect we are looking for is called Glassmorphism. Basically, we want to give the card a texture that shows what's behind with transparency but gives it a blurry effect.
First, we try giving the card a blur md-blur, but that doesn't work, as the whole card became blurry. Now if we try blurring the SVG blobs blur-sm, the entire blob become blurry and this did not sell the effect at all.
So, we need to use a different approach. What we want to use here is not a blur filter but a backdrop blur filter which will apply the blur to whatever element is behind the element in its background.
Back on the credit card element, let's apply a backdrop blur:
<div class="isolate aspect-video w-96 rounded-xl bg-white/20 shadow-lg ring-1 ring-black/5">
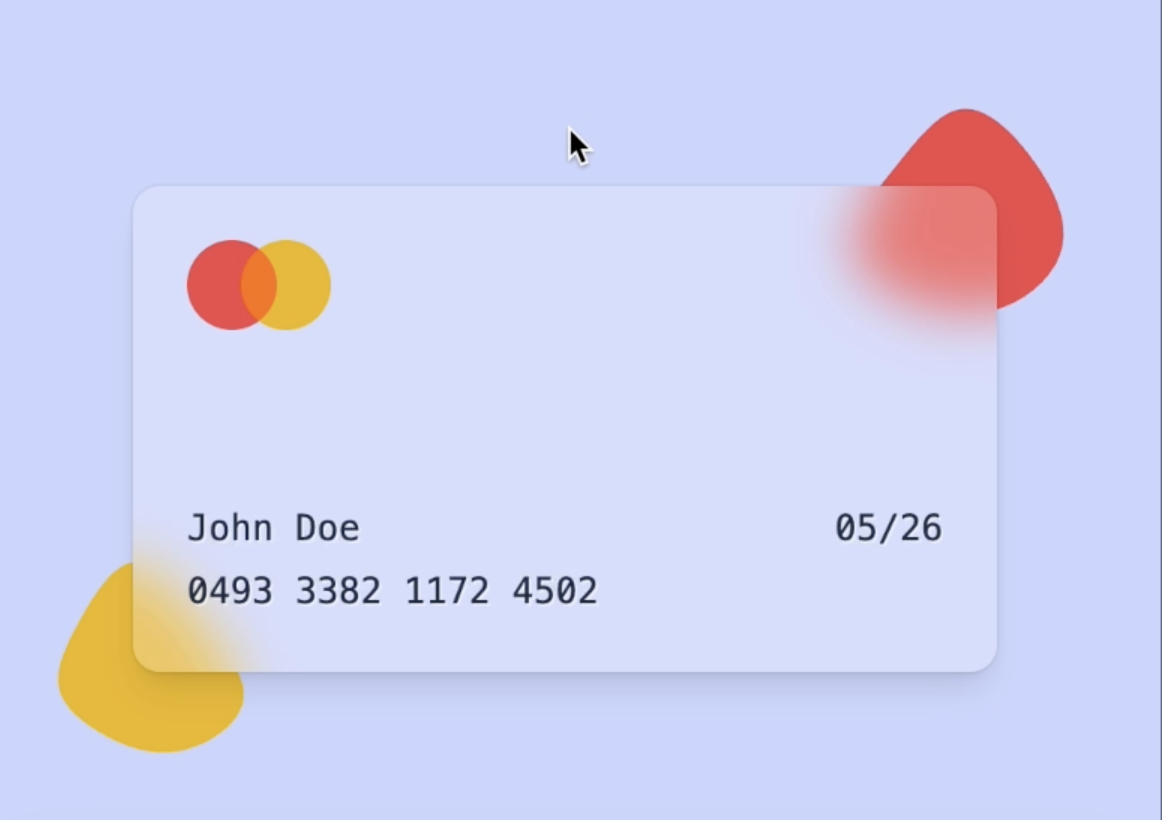
Let's try to make the card transparent once again. Instead of using transparent, we'll use bg-white/0, which allows us to play around with the white opacity going forward. As you can see, even when the card is completely transparent, the backdrop blur creates a translucent plastic effect.

Now, if we play around with the level of blur. We'll start with a small blur by using small to something bigger, like 3xl. You can see that by playing around with the blur levels, you can give different textures and thicknesses to your card. Feel free to experiment with the values!
In this case, we'll settle for xl or even lg. To give a tiny bit of white opacity back to the card, let's use white-10. By adjusting the background opacity and blur level, you can achieve various effects. Keep in mind that the final appearance also depends on the background color behind the card.

For instance, if our whole page background was indigo-600 instead of indigo-200, the card might not look that great. In this case, you could adjust the opacity to white-60 and reduce the blur to sm.

Finally, just for fun, let's go back to a 3xl blur and make the card completely transparent. This creates a striking effect with a wide blur cast.

Transcript
00:00 We've designed this credit card UI up here and we want to turn it from hard boring white plastic to one of these fancy transparent or rather translucent cards. I've hidden some of the markup but this is the div which is our card wrapper and so instead of BG white, let's give it a BG of transparent.
00:19 And okay, that sort of sells the effect but it's almost too transparent. In the real world, the card would have some sort of opacity. Let's go back to BG white but give it a 10% opacity with BG white slash 10 and maybe 20. And yeah, that starts looking a little bit more realistic.
00:35 But now let's try to go for this bathroom frosted glass effect which in design is called glassmorphism. Basically, I want to give the card a texture that shows what's behind with transparency but gives it a blurry effect. So do I give the card a blur? Let's say MD class. Whoops, that's not really what we want.
00:54 Now the whole card is blurry. So let's remove that. What about the SVG blobs? Should I try to blur this one? Blur SM this time. And nope, once again you can see the entire blob is blurry and this does not sell the effect at all. So let's opt out of this.
01:11 And what we want to use here is not a blur filter but a backdrop blur filter which will apply the blur to whatever element is behind the element in its background. So back on the credit card element, let's go backdrop blur and let's try MD. And wow, look at this. This is looking really nice.
01:30 So let's try to make the card transparent once again. So I'll go BG white slash zero instead of transparent so we can play around with the white opacity going forward. And you can see that now even completely transparent, this backdrop blur really sells the effect that the card is a translucent plastic. And let's play around with the level of blur.
01:49 So let's try small. That's probably a little bit too small. And let's try a really big one, 3XL. And that looks pretty cool. So you can see that by playing around with the level of blur, you can give a different feel of texture and thickness to your card. So play around with the values and have some fun.
02:06 I think here I'll go with XL or even LG actually. Yeah like that. And I'll give a tiny bit of white opacity back to the card. So let's go white 10. And I really like that. So between the opacity of the background and the blur level, you can really achieve a whole lot of different effects. This also depends on what the background color is behind the card.
02:25 So if our whole page background instead of Indigo 200 was Indigo 600, you can see that doesn't look that great. So you might need to adjust the opacity to maybe white 60. And now the blur effect is harder to see. So maybe reduce it to SM. And yeah, I think that works better.
02:43 And just for fun, I'll go back to 3XL blur and completely transparent because I really like how wide the blur is casted. You can see that small SVG blob spreads out all the way to here.
- Play Congratulations on Completing the Workshop!
Congratulations on Completing the Workshop!
- Play App Varieties - Wrap Up
App Varieties - Wrap Up
- Play Simple Apps Without package.json - Solution
Simple Apps Without package.json - Solution
- Play Simple Apps Without package.json - Problem
Simple Apps Without package.json - Problem
- Play Apps Without Preview - Solution
Apps Without Preview - Solution
- Play Apps Without Preview - Problem
Apps Without Preview - Problem


