

I respect your privacy. Unsubscribe at any time.
One question I often get asked is:
Why do you prefer Vitest?
The landscape of testing frameworks has been rapidly transforming over the past few years. We’ve got new options, like the test runner in Bun and node:test baked directly into Node.js, as well as long-awaited updates to existing frameworks, like Jest v30. The tools learn, evolve, and get inspired by each other, which is great to see.
And while some frameworks might need a bit more time to mature, others offer a comprehensive testing experience from the get go. That’s where I put Vitest.
Today, I’d like to talk about one particular area of Vitest design that stands out the more I learn about it: the defaults. Grasping these defaults will help you understand Vitest better and also give you the answer (or a part of it, anyways) as to why I choose it over other testing frameworks.
Importance of defaults
As engineers, we can make software do anything. Rephrasing the famous quote from Henry Ford: Quality software is that which does things right when nobody is asking it to. You don’t ask React to re-render your component when its props change. You don’t ask your bundler to instantly display the updates in your running app. The same way you don’t ask your browser to cache a response if it has the Cache-Control header.
Those all are the default behaviors you expect.
The defaults in tooling is a quality bar. They speak as to how well the tool understands the engineer’s expectations and how aptly it tailors to them. The defaults in tooling are a safety net. They can anticipate common pitfalls and save their users the trouble of going through them.
But, above all, the defaults in tooling are the threads that weave the developer experience.
Vitest defaults
With that in mind, what kind of defaults does Vitest have? Why are they there and do they actually affect the tests you write in any meaningful? Let’s find out.
Default #1: Modern syntax
Vitest supports ESM, TypeScript, and JSX with zero configuration.
It pains me to remember the hoops I used to jump through just so my test runner could run modern JavaScript code (and by “modern” I really mean a standard that’s been around since 2020).
SyntaxError: Cannot use import statement outside a module 😩
This makes me all the happier to leave the adapters and plugins behind because Vitest can run ESM natively. In fact, the inability to test and, consequently, the inability to comfortably author ESM was one of my biggest struggles with Jest, which, sadly, still treats ESM in tests as a second class citizen even today.
In addition to being ESM-first, Vitest embraces the reality of modern projects and provides support for TypeScript and JSX out of the box. This means you can run example.test.tsx without a single line of configuration, which I find to be impressive!
Default #2: Reusing Vite configuration
Vitest automatically reuses your Vite configuration to bring your test environment closer to your app environment.
As the name implies, Vitest is built on top of Vite. You don’t have to use Vite to use Vitest, but if you happened to be building an application with Vite, Vitest will automatically reuse your Vite config in tests.
This means the same module transformation pipeline that handles your production build will also handle your test files and your tested code. Whereas your app and your tests used to live in disconnected universes, Vite brings those two environments together, making sure you’re testing the same code you ship to your users.
(In fact, that’s also why you can configure Vitest from within vite.config.ts:)
// vite.config.tsimport { defineConfig } from 'vite'export default defineConfig({ test: { expect: { poll: { interval: 250 } } }})
Default #3: Opt-in global APIs
Vitest does not expose functions like
testandexpectglobally to reduce magical behaviors.
I used to dislike this one so much during my first weeks after switching to Vitest. See, functions like test and expect aren’t global by default in Vitest. You have to manually import them. Yikes!
But then this grew on me as I understood why the things are as they are. Values don’t become global out of thin air. You have to configure that behavior. And even when you do, it still remains magical.
And so what Vitest does with this default is forgoes magical in favor of explicit. Like with any default, you can still opt out from this behavior and get a more familiar global APIs in your tests:
// vitest.config.ts/// <reference path="vitest/globals" />import { defineConfig } from 'vitest/config'export default defineConfig({ test: { globals: true }})
// tsconfig.json{ "compilerOptions": { "types": ["vitest/globals"] }}
But you don’t have to. Vitest makes this a choice, allowing a configuration-less test run in the process:
// sum.test.tsimport { test, expect } from 'vitest'import { sum } from './sum.js'test('returns the sum of two numbers', () => { expect(sum(1, 3)).toBe(4)})
npx vitest sum.test.ts
I remember how frustrating it was back in the day that you couldn’t manually import expect that Jest uses. It wasn’t a part of the public API. It was always global and arrived at my test files magically. While yielding seemingly practical benefits of saving you an extra import, abundant reliance on magical behaviors makes software hard to predict.
With years of building my own tools, I came to appreciate the careful layering of experience that Vitest is doing here: start explicitly, abstract later.
Default #4: Isolated tests
Vitest runs every test file in its own worker, isolating it to reduce flakiness.
Shared state is the primary reason for flakiness in tests. Vitest puts a few defaults in place to either prevent the shared state issues from happening or minimize their blast radius, helping you locate the culprit faster.
For example, instead of spawning your test environment once and then proceeding to run all the test files there, Vitest runs every test file in its own isolated sandbox. So even if one test file modifies its environment (intentionally or not), that side effect will not impact the rest of your tests.
Such isolation, however, does not come without a cost as spawning workers takes time. Vitest takes advantage of the said isolation to counterweight the performance impact by running test files in parallel.
Default #5: Parallel test files
Vitest run every test file in parallel, improving test performance.
Since every test file is isolated by default, Vitest can run multiple files simultaneously, dramatically improving the test performance. It determines the parallelism level based on your OS (os.availableParallelism()) and halves that value in the watch mode to stay resource-efficient.
This is why many developers experience significantly faster tests after switching to Vitest. Combined with test isolation, it’s a great way to pursue performance without sacrificing the reliability of your tests.
That being said, the cost of isolating tests might outweigh the gains of parallelization in projects with a lot of test files (talking hundreds here). In those cases, opting out from the test isolation and procuring it yourself is one of the ways to keep your tests fast.
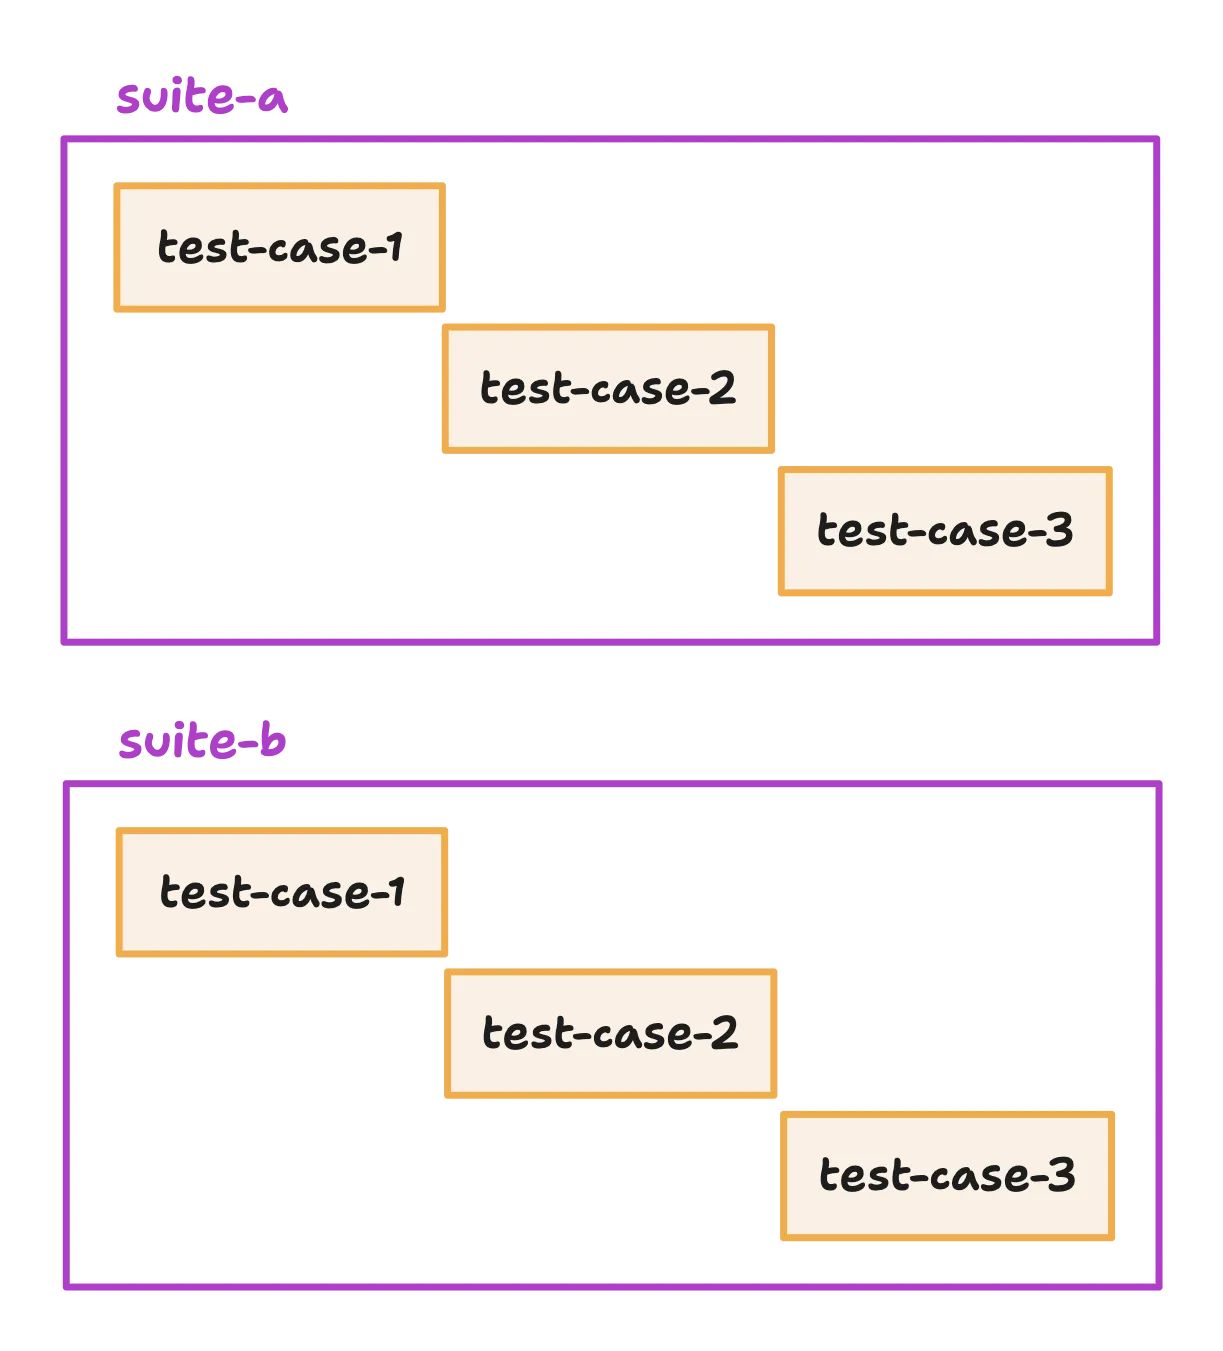
Default #6: Sequential test cases
Vitest runs every test case in a test file sequentially for more deterministic test results.
The most common example of a shared state is when two test cases become dependent on each other. And so you spot that problematic dependency and try to debug it only to see both of the tests pass on subsequent re-runs.
To prevent that from happening and give you predictable test results, Vitest executes every test case within a test file sequentially.
test('one', () => console.log('this always runs first'))test('two', () => console.log('this always runs second'))test('three', () => console.log('and this runs third'))
This prevents test cases from stepping on each other’s toes while also becoming a guardrail to spot and fix any share state issues much faster. But this sequential behavior also means that you are getting a test case waterfall:
Similar to the request waterfall, the sequential run of your test cases might become a performance bottleneck, especially when you’ve got a lot of those within the same test file. You might consider removing this guardrail when you’ve got self-contained, isolated test cases by switching to test.concurrent(), as an example:
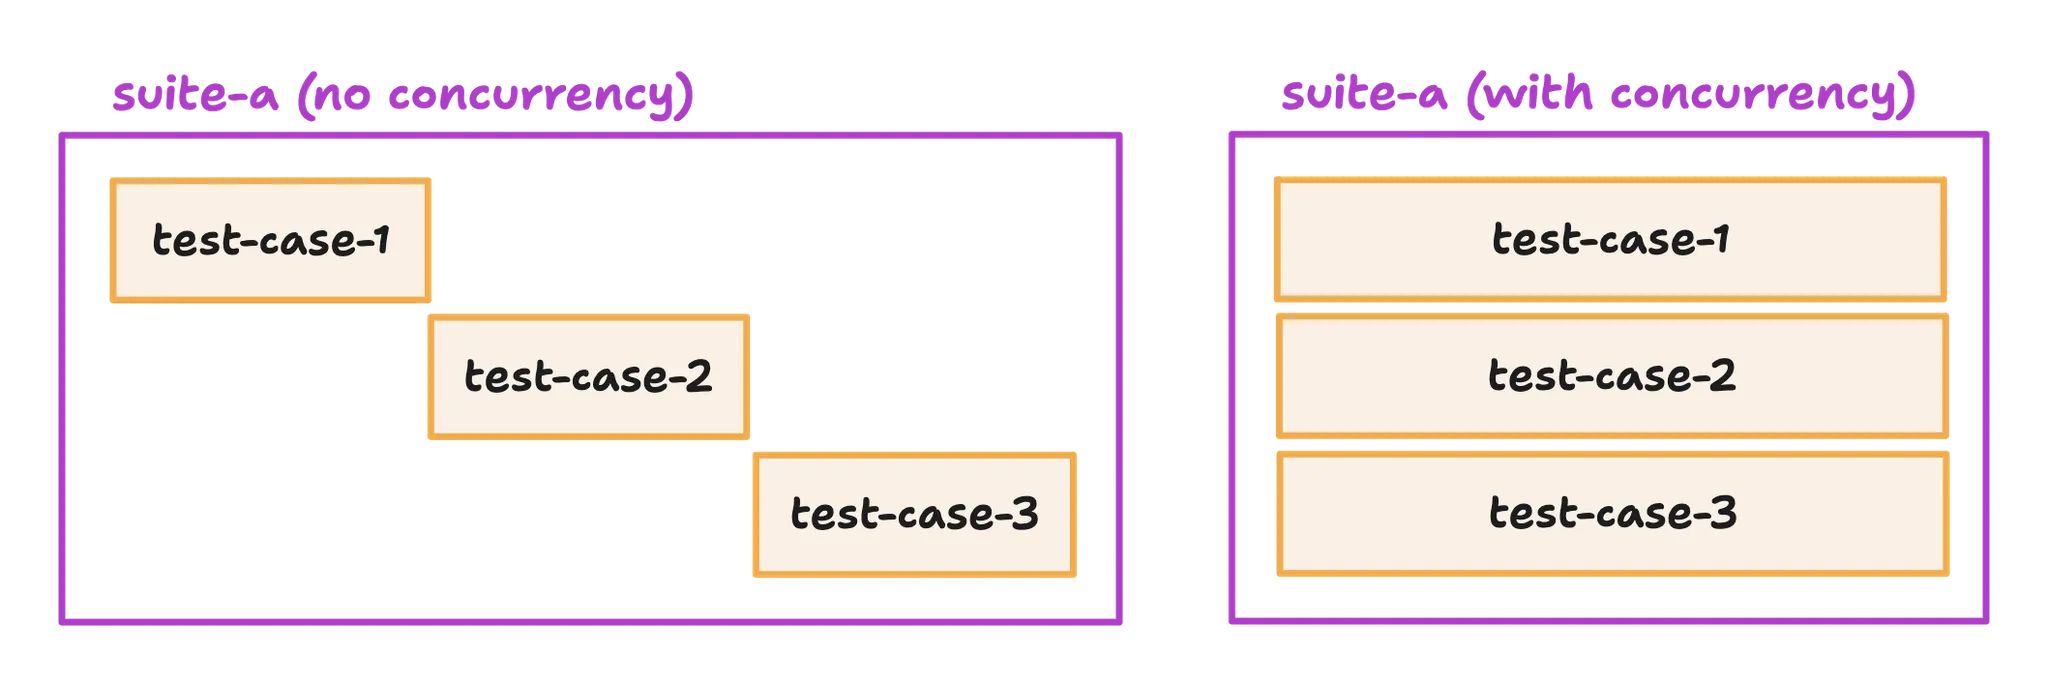
Note that you can still benefit from the default parallel test files while switching your tests to concurrent, effectively flattening the test case waterfall.
Default #7: Retryable in-browser assertions
In the Browser Mode, Vitest automatically retries all assertions to prevent flakiness.
With the addition of the Browser Mode, you can now use Vitest to test your components in the actual browser. This is a great replacement for the somewhat archaic approach relying on browser-like environments. But it’s as much about what you can do as it is about how you do it.
Inspired by Playwright, Vitest retries your assertions over UI elements, making them more resilient toward asynchronous behaviors and flakiness:
import { page } from '@vitest/browser/context'import { render } from 'vitest-browser-react'import { Greeting } from '#src/components/greeting.jsx'test('displays the greeting message', async () => { render(<Greeting />) await expect.element(page.getByText('Hi, Kody!')).toBeVisible()})
expect.element()in Vitest works similarly to Playwright’s locators, polling for the element on the page and retrying the visibility assertion until it passes or times out.
And since expect.element() polls for the element, you no longer have to differentiate between .getBy*, .findBy*, and .queryBy* queries when describing elements on the page! A single reliable page.getBy* is all you need.
Conclusion
These have been some of my favorite defaults in Vitest, but there’s so much more that it does to make my testing life easier and produce stellar tests in the process. All of that is a product of thoughtful API design done by the Vitest team members and contributors. Please consider supporting their work on GitHub!
And if you want to learn more about Vitest, how it works under the hood, and how you can customize it to become more productive, check out my recent workshop called “Advanced Vitest Patterns”.

Until next time, stay safe and write great tests! 👋